Best Raspberry Pi RemoteIoT: The Ultimate Guide For Enthusiasts
Looking for the best Raspberry Pi RemoteIoT setup? Well, you’ve landed in the right place! If you’re diving into the world of remote IoT projects using Raspberry Pi, you’re about to discover a treasure trove of tips, tricks, and expert advice. Remote IoT setups can revolutionize the way you manage smart devices, automate processes, and monitor systems from anywhere in the world. So, whether you’re a tech enthusiast, a DIY hobbyist, or a professional developer, this guide is packed with actionable insights to help you get started.
RemoteIoT with Raspberry Pi is more than just a buzzword; it’s a game-changer. Imagine being able to control your home’s lighting, monitor weather stations, or manage industrial sensors without ever stepping foot near them. With the right tools, setup, and some creativity, you can transform your Raspberry Pi into a powerhouse of remote connectivity. Stick around, and we’ll break it all down for you step by step.
This guide isn’t just a list of random ideas; it’s a comprehensive roadmap designed to help you build reliable, scalable, and secure Raspberry Pi RemoteIoT solutions. From selecting the right hardware to optimizing your software stack, we’ve got you covered. So grab a coffee, get comfortable, and let’s dive into the fascinating world of remote IoT with Raspberry Pi!
Table of Contents:
- What is Raspberry Pi RemoteIoT?
- Benefits of Raspberry Pi RemoteIoT
- Hardware Requirements for Best Raspberry Pi RemoteIoT Setup
- Software Setup for Raspberry Pi RemoteIoT
- Network Configuration for RemoteIoT
- Security Best Practices for Raspberry Pi RemoteIoT
- Project Ideas for Raspberry Pi RemoteIoT
- Troubleshooting Common Issues
- Cost Analysis of Raspberry Pi RemoteIoT
- Conclusion: Your Next Steps
What is Raspberry Pi RemoteIoT?
Raspberry Pi RemoteIoT is essentially the use of Raspberry Pi boards to create IoT (Internet of Things) projects that can be accessed and controlled remotely. It’s like having a tiny computer that acts as the brain for your smart devices, but with the added ability to interact with it from anywhere on the globe. This setup opens up endless possibilities for automation, monitoring, and data collection.
At its core, Raspberry Pi RemoteIoT combines the flexibility of Raspberry Pi with the power of IoT technology. Whether you’re building a smart home system, a weather station, or even an industrial automation solution, the possibilities are limitless. The best part? You don’t need to be a tech wizard to get started. With the right guidance, anyone can create impressive RemoteIoT projects using Raspberry Pi.
Why Choose Raspberry Pi for RemoteIoT?
Here’s the deal: Raspberry Pi stands out as one of the best platforms for RemoteIoT because of its affordability, versatility, and massive community support. Let’s break it down:
- Affordability: Raspberry Pi boards are budget-friendly, making them accessible for hobbyists and professionals alike.
- Versatility: From basic projects to complex setups, Raspberry Pi can handle it all.
- Community Support: With thousands of tutorials, forums, and libraries available, you’ll never feel stuck.
Benefits of Raspberry Pi RemoteIoT
So, why should you consider building a Raspberry Pi RemoteIoT project? Here’s a quick rundown of the top benefits:
1. Cost-Effective Solutions
Raspberry Pi boards are incredibly affordable, especially when compared to commercial IoT solutions. This makes them perfect for both personal and professional projects. Whether you’re automating your home or scaling an industrial application, Raspberry Pi offers a cost-effective alternative.
2. Scalability
One of the biggest advantages of Raspberry Pi RemoteIoT is scalability. You can start small with a single board and gradually expand your setup as your needs grow. This flexibility is crucial for projects that require long-term development and expansion.
3. Customization
Raspberry Pi allows for unparalleled customization. You can tailor your RemoteIoT setup to meet specific requirements, whether it’s integrating custom sensors, developing unique software, or optimizing performance for specific tasks.
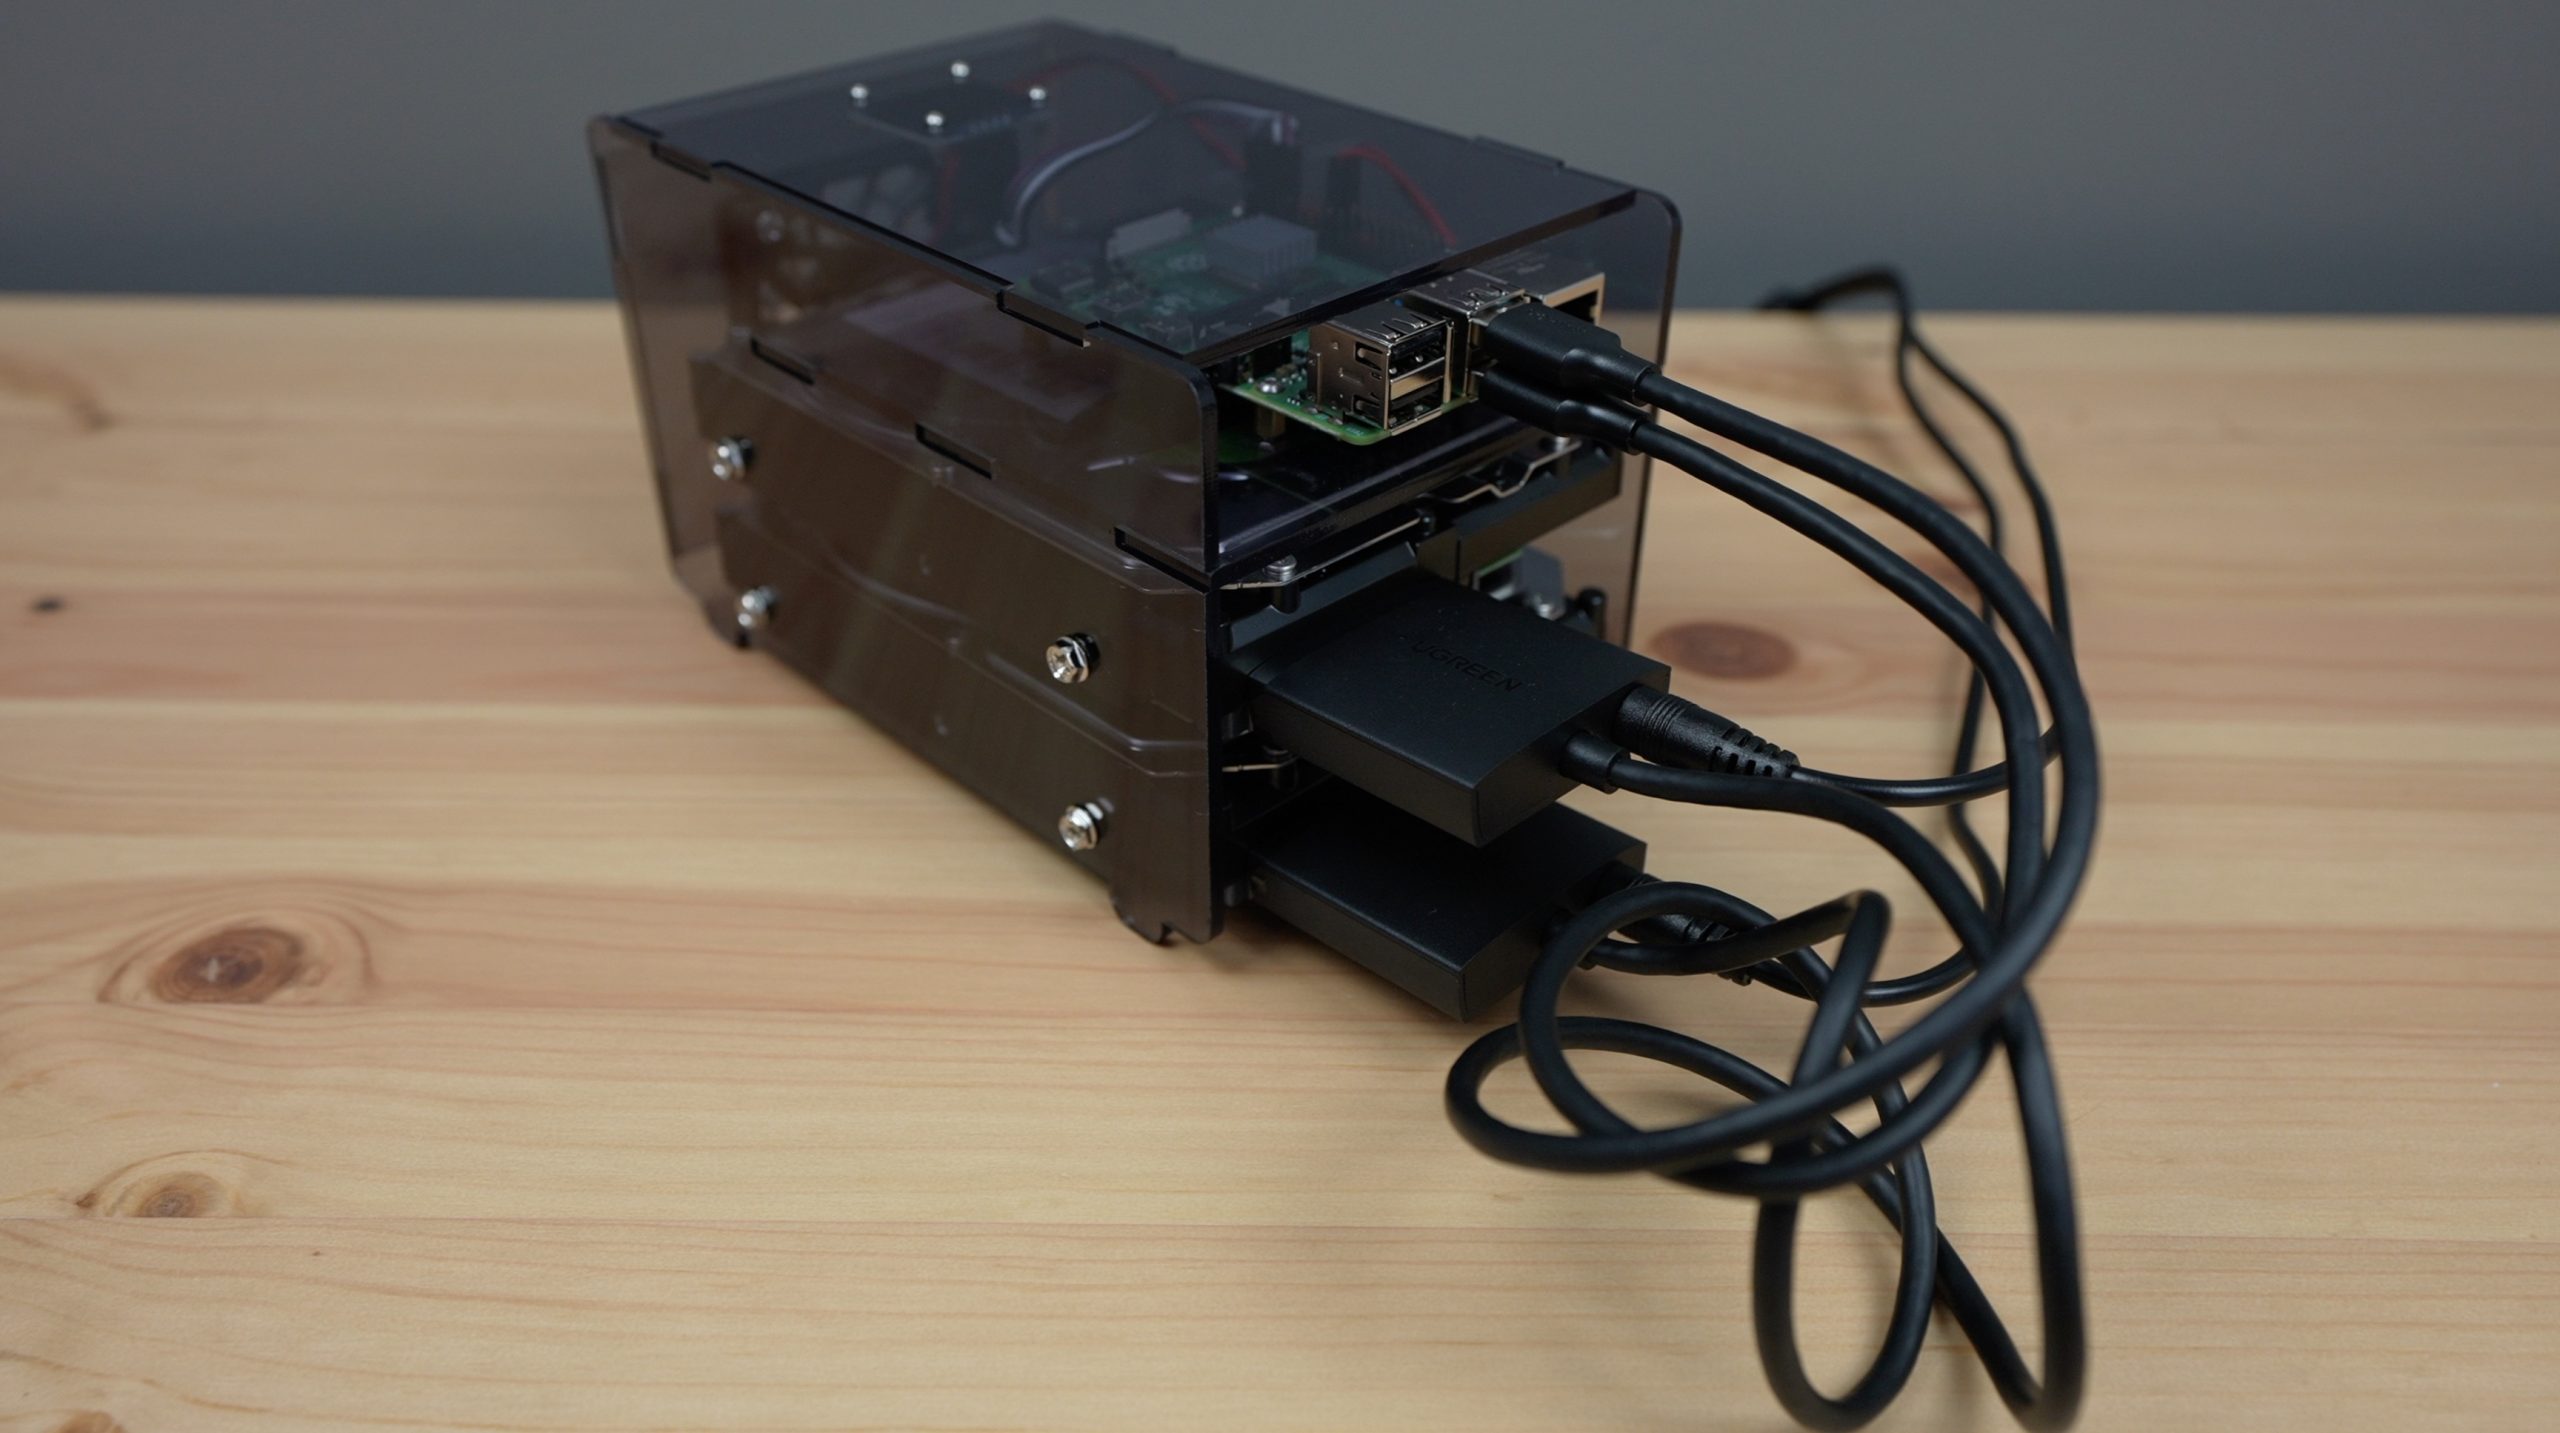
Hardware Requirements for Best Raspberry Pi RemoteIoT Setup
Before diving into the software side of things, let’s talk about the hardware you’ll need to create a top-notch Raspberry Pi RemoteIoT setup. Here’s a list of essential components:
1. Raspberry Pi Board
The first step is choosing the right Raspberry Pi board. For RemoteIoT projects, the Raspberry Pi 4 Model B is highly recommended due to its powerful performance and support for WiFi and Bluetooth.
2. Power Supply
A reliable power supply is crucial for stable operation. Make sure to use an official Raspberry Pi power adapter or a high-quality third-party alternative.
3. MicroSD Card
Your Raspberry Pi will need a microSD card to store the operating system and your project files. A 16GB or 32GB card should suffice for most RemoteIoT projects.
4. Sensors and Actuators
Depending on your project, you may need various sensors (temperature, humidity, motion, etc.) and actuators (motors, relays, etc.) to interact with the physical world.
Software Setup for Raspberry Pi RemoteIoT
Once your hardware is ready, it’s time to set up the software. Here’s a step-by-step guide to help you get started:
1. Install Raspberry Pi OS
Raspberry Pi OS is the official operating system for Raspberry Pi boards. Download the latest version from the official website and flash it onto your microSD card using a tool like Balena Etcher.
2. Enable SSH and VNC
To access your Raspberry Pi remotely, you’ll need to enable SSH (Secure Shell) and optionally VNC (Virtual Network Computing). This allows you to control your Pi from any device with an internet connection.
3. Install IoT Libraries
Depending on your project, you may need to install specific IoT libraries and frameworks. Popular choices include MQTT, Node-RED, and Home Assistant, which simplify the process of building and managing IoT setups.
Network Configuration for RemoteIoT
Setting up a reliable network connection is essential for any Raspberry Pi RemoteIoT project. Here’s how you can ensure smooth connectivity:
1. Use Static IP Addresses
Assigning a static IP address to your Raspberry Pi ensures that it always has the same network address, making it easier to connect remotely.
2. Configure Port Forwarding
If you’re accessing your Raspberry Pi from outside your local network, you’ll need to configure port forwarding on your router. This allows external devices to communicate with your Pi securely.
3. Secure Your Network
Network security is paramount when dealing with remote IoT setups. Use strong passwords, enable encryption, and consider implementing a firewall to protect your system from unauthorized access.
Security Best Practices for Raspberry Pi RemoteIoT
Security should always be a top priority when working with remote IoT projects. Here are some best practices to keep your Raspberry Pi RemoteIoT setup safe:
1. Regular Updates
Keep your operating system and software up to date to protect against vulnerabilities and exploits.
2. Use Strong Passwords
Weak passwords are a common entry point for attackers. Use strong, unique passwords for all accounts related to your Raspberry Pi setup.
3. Enable Two-Factor Authentication
Two-factor authentication adds an extra layer of security by requiring a second form of verification in addition to your password.
Project Ideas for Raspberry Pi RemoteIoT
Now that you have the basics down, let’s explore some exciting project ideas for Raspberry Pi RemoteIoT:
1. Smart Home Automation
Create a smart home system that allows you to control lights, thermostats, and security cameras from anywhere in the world.
2. Weather Monitoring Station
Build a weather station using sensors to collect data on temperature, humidity, and wind speed. Access the data remotely to monitor weather conditions.
3. Industrial Automation
Use Raspberry Pi to automate industrial processes, such as controlling machinery or monitoring production lines.
Troubleshooting Common Issues
No matter how well-prepared you are, issues can arise. Here’s how to troubleshoot some common problems:
1. Connectivity Issues
If you’re having trouble connecting to your Raspberry Pi remotely, check your network settings, ensure port forwarding is correctly configured, and verify that your Pi is online.
2. Software Errors
Encountering software errors? Try rebooting your Pi, updating your software, and consulting online forums for troubleshooting tips.
Cost Analysis of Raspberry Pi RemoteIoT
Let’s talk numbers. Here’s a rough cost analysis for a basic Raspberry Pi RemoteIoT setup:
- Raspberry Pi 4 Model B: $35-$55
- MicroSD Card: $10-$20
- Power Supply: $10-$15
- Sensors and Actuators: $20-$100 (depending on your project)
Total estimated cost: $75-$200
Conclusion: Your Next Steps
And there you have it – the ultimate guide to the best Raspberry Pi RemoteIoT setups! By now, you should have a solid understanding of what Raspberry Pi RemoteIoT is, why it’s beneficial, and how to get started with your own projects. Remember, the key to success lies in planning, experimentation, and continuous learning.
So, what’s next? Start small, experiment with different ideas, and gradually expand your skills. Don’t forget to share your projects with the community, seek feedback, and stay updated with the latest trends in IoT technology. And if you enjoyed this guide, feel free to leave a comment, share it with your friends, or explore more articles on our site!
Happy building, and may your Raspberry Pi RemoteIoT journey be filled with success and innovation!


