Raspberry Pi IoT VNC Viewer Free: Your Ultimate Guide To Remote Access
Hey there, tech enthusiasts! If you're diving into the world of Raspberry Pi and IoT, you're in the right place. Today, we're going to explore how you can use a free VNC viewer to remotely access your Raspberry Pi IoT setup. This is not just about geeking out—it’s about empowering you to manage your devices from anywhere in the world. Let’s get started and unlock the potential of your Raspberry Pi IoT system!
Picture this: you're working on a project that involves setting up a network of IoT devices using Raspberry Pi. You want to monitor and control these devices without being physically present. Sounds like a dream, right? Well, with a free VNC viewer, it’s not just a dream—it’s a reality. This guide will walk you through everything you need to know to set up and use VNC for your Raspberry Pi IoT projects.
Before we dive deeper, let’s address the elephant in the room. Why choose Raspberry Pi for IoT? The answer is simple: it’s affordable, versatile, and packed with features that make it perfect for DIY projects and professional setups alike. Combine that with a free VNC viewer, and you’ve got a powerful tool at your fingertips. So, buckle up, because we’re about to embark on a journey of discovery and innovation.
What is Raspberry Pi IoT?
Raspberry Pi IoT refers to the use of Raspberry Pi devices in Internet of Things (IoT) applications. These tiny computers can be programmed to collect data, control devices, and communicate with other systems over the internet. Whether you're building a smart home system or monitoring environmental conditions, Raspberry Pi IoT can handle it all.
Here’s why Raspberry Pi IoT is so popular:
- Compact and energy-efficient
- Supports a wide range of sensors and peripherals
- Easy to program using languages like Python
- Highly customizable for different applications
But wait, there’s more! With the help of a VNC viewer, you can access your Raspberry Pi IoT setup remotely, giving you full control over your devices no matter where you are.
Why Use a Free VNC Viewer for Raspberry Pi?
A VNC (Virtual Network Computing) viewer allows you to remotely access and control your Raspberry Pi IoT devices from another computer or mobile device. The best part? You can do all this for free. There are several free VNC viewers available that offer robust features without breaking the bank.
Here are some benefits of using a free VNC viewer for Raspberry Pi IoT:
- Remote access to your Raspberry Pi desktop
- Ability to monitor and manage IoT devices in real-time
- No need for physical access to your Raspberry Pi
- Compatibility with multiple platforms (Windows, macOS, Android, iOS)
Whether you're troubleshooting a problem or simply checking on your IoT setup, a free VNC viewer makes it easy to stay connected.
Setting Up VNC on Your Raspberry Pi
Now that you know why VNC is a game-changer for Raspberry Pi IoT, let’s talk about how to set it up. Follow these simple steps to get started:
Step 1: Enable VNC on Your Raspberry Pi
To enable VNC on your Raspberry Pi, you’ll need to access the Raspberry Pi Configuration tool. Here’s how:
- Open the Raspberry Pi desktop
- Go to Preferences > Raspberry Pi Configuration
- Select the Interfaces tab
- Set VNC to Enabled
Once VNC is enabled, your Raspberry Pi will be ready to accept remote connections.
Step 2: Install a Free VNC Viewer
Next, you’ll need to install a VNC viewer on the device you’ll use to access your Raspberry Pi. Some popular free options include:
- RealVNC Viewer
- TightVNC Viewer
- TurboVNC
Download and install the VNC viewer of your choice on your computer or mobile device. Make sure it’s compatible with your operating system.
Connecting to Your Raspberry Pi with VNC
With VNC enabled on your Raspberry Pi and a viewer installed on your remote device, it’s time to connect. Follow these steps:
Step 1: Find Your Raspberry Pi’s IP Address
To connect to your Raspberry Pi, you’ll need its IP address. You can find this by opening a terminal on your Raspberry Pi and typing:
hostname -I
This will display the IP address of your Raspberry Pi. Make a note of it—you’ll need it for the next step.
Step 2: Enter the IP Address in Your VNC Viewer
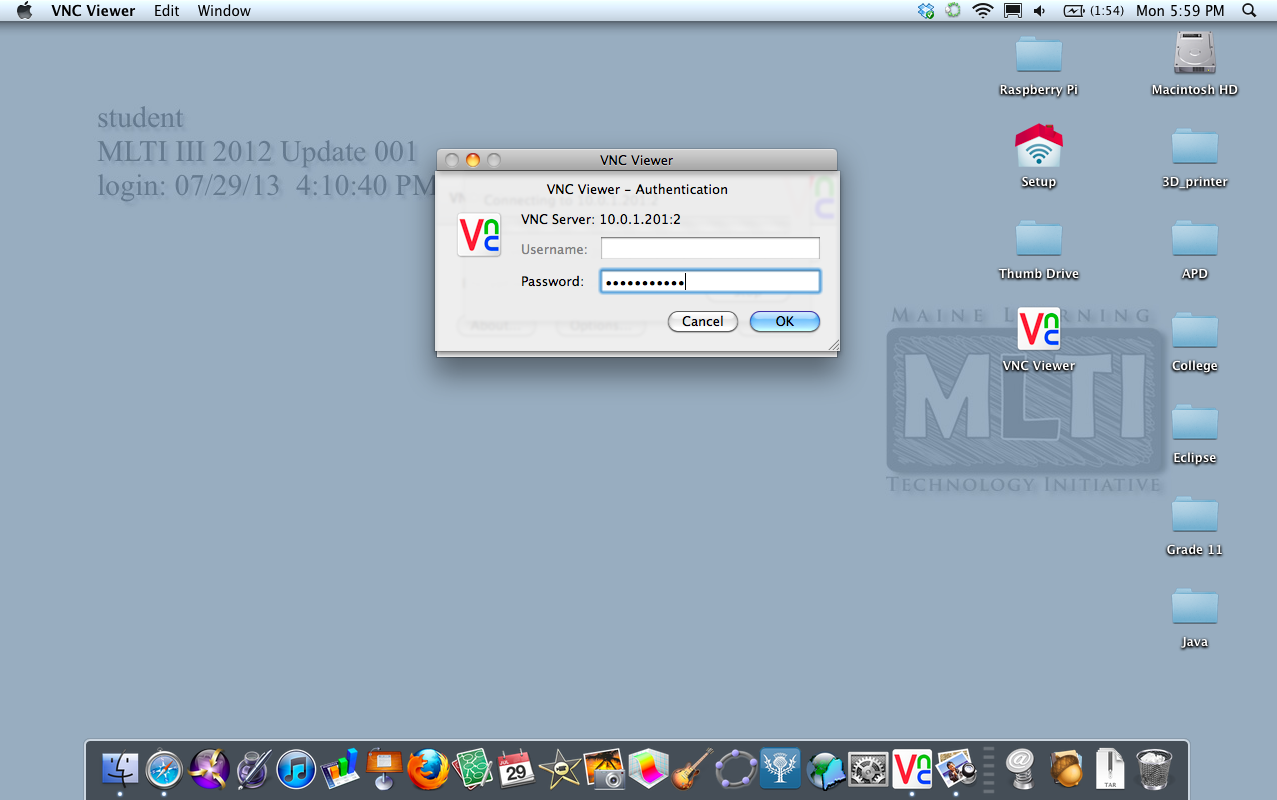
Open your VNC viewer and enter the IP address of your Raspberry Pi in the connection field. Click Connect, and you should be good to go.
You may be prompted to enter a password. By default, the password for VNC on Raspberry Pi is the same as the user password you set during setup.
Exploring Raspberry Pi IoT Applications
Now that you’ve got VNC up and running, it’s time to explore the endless possibilities of Raspberry Pi IoT. Here are a few ideas to get you started:
Smart Home Automation
Use your Raspberry Pi to control smart home devices like lights, thermostats, and security cameras. With VNC, you can monitor and manage your smart home from anywhere.
Environmental Monitoring
Set up sensors to monitor temperature, humidity, and air quality. Use your Raspberry Pi to collect and analyze the data, and access the information remotely via VNC.
Remote Surveillance
Turn your Raspberry Pi into a surveillance system by connecting cameras and motion sensors. Use VNC to check on your property from afar.
Tips for Optimizing Your VNC Experience
While VNC is a powerful tool, there are a few tips to keep in mind to ensure a smooth experience:
- Use a strong and stable internet connection
- Enable encryption to protect your data
- Regularly update your Raspberry Pi and VNC software
- Set up a static IP address for your Raspberry Pi
By following these tips, you can maximize the performance and security of your VNC setup.
Common Issues and Troubleshooting
Even with the best-laid plans, things can sometimes go wrong. Here are some common issues you might encounter when using VNC with Raspberry Pi IoT, along with solutions:
Issue 1: Connection Problems
If you’re having trouble connecting to your Raspberry Pi, double-check the IP address and ensure that VNC is enabled. Also, make sure your firewall settings allow incoming connections.
Issue 2: Slow Performance
Slow VNC performance can be caused by a weak internet connection or insufficient resources on your Raspberry Pi. Try optimizing your network settings or upgrading your hardware if necessary.
Issue 3: Security Concerns
To protect your Raspberry Pi IoT setup, always use strong passwords and enable encryption in your VNC settings. Consider using a VPN for added security.
Conclusion: Take Your Raspberry Pi IoT to the Next Level
There you have it—your comprehensive guide to using a free VNC viewer for Raspberry Pi IoT. With the power of VNC, you can take full control of your IoT projects from anywhere in the world. Whether you’re building a smart home, monitoring environmental conditions, or setting up a surveillance system, Raspberry Pi IoT has got you covered.
So, what are you waiting for? Dive into the world of Raspberry Pi IoT and unlock its full potential with a free VNC viewer. And don’t forget to share your experiences and creations with the community. Who knows? You might just inspire the next big innovation!
Call to Action: Leave a comment below and let us know how you’re using Raspberry Pi IoT with VNC. We’d love to hear your stories and tips!
Table of Contents
- What is Raspberry Pi IoT?
- Why Use a Free VNC Viewer for Raspberry Pi?
- Setting Up VNC on Your Raspberry Pi
- Connecting to Your Raspberry Pi with VNC
- Exploring Raspberry Pi IoT Applications
- Tips for Optimizing Your VNC Experience
- Common Issues and Troubleshooting
- Conclusion


