Unlocking The Power Of Remote IoT Platforms: Free SSH Key Setup For Raspberry Pi
Remote IoT platforms have become a game-changer for tech enthusiasts and professionals alike. Whether you're tinkering with a personal project or managing a large-scale IoT deployment, being able to access your Raspberry Pi remotely using SSH keys is a must-have skill. Imagine controlling your devices from anywhere in the world—sounds cool, right? Well, it's not just about convenience; it's about efficiency, security, and flexibility. So, let's dive in and explore how you can set up a free SSH key for your Raspberry Pi and unlock its full potential.
Now, before we get into the nitty-gritty, let's talk about why remote access matters. In today's fast-paced world, having the ability to manage your IoT devices remotely can save you time and headaches. Gone are the days when you had to physically connect to your Pi just to tweak a setting or check on a project. With the right tools and setup, you can do all that from the comfort of your couch—or even while you're sipping coffee at your favorite café.
But here's the kicker: setting up a secure connection is crucial. That's where SSH keys come in. They're like the digital bouncers at an exclusive club, ensuring only the right people (or devices) get in. So, whether you're a beginner or a seasoned pro, this guide will walk you through everything you need to know about remote IoT platforms, SSH keys, and Raspberry Pi setup—free of charge. Let's get started!
Table of Contents
- What is a Remote IoT Platform?
- Raspberry Pi: The Heart of IoT
- SSH Basics: What You Need to Know
- Why Use SSH Keys?
- Setting Up SSH Keys for Raspberry Pi
- Accessing Your Raspberry Pi Remotely
- Security Tips for Remote IoT Setup
- Troubleshooting Common Issues
- Real-World Use Cases
- Wrapping It Up
What is a Remote IoT Platform?
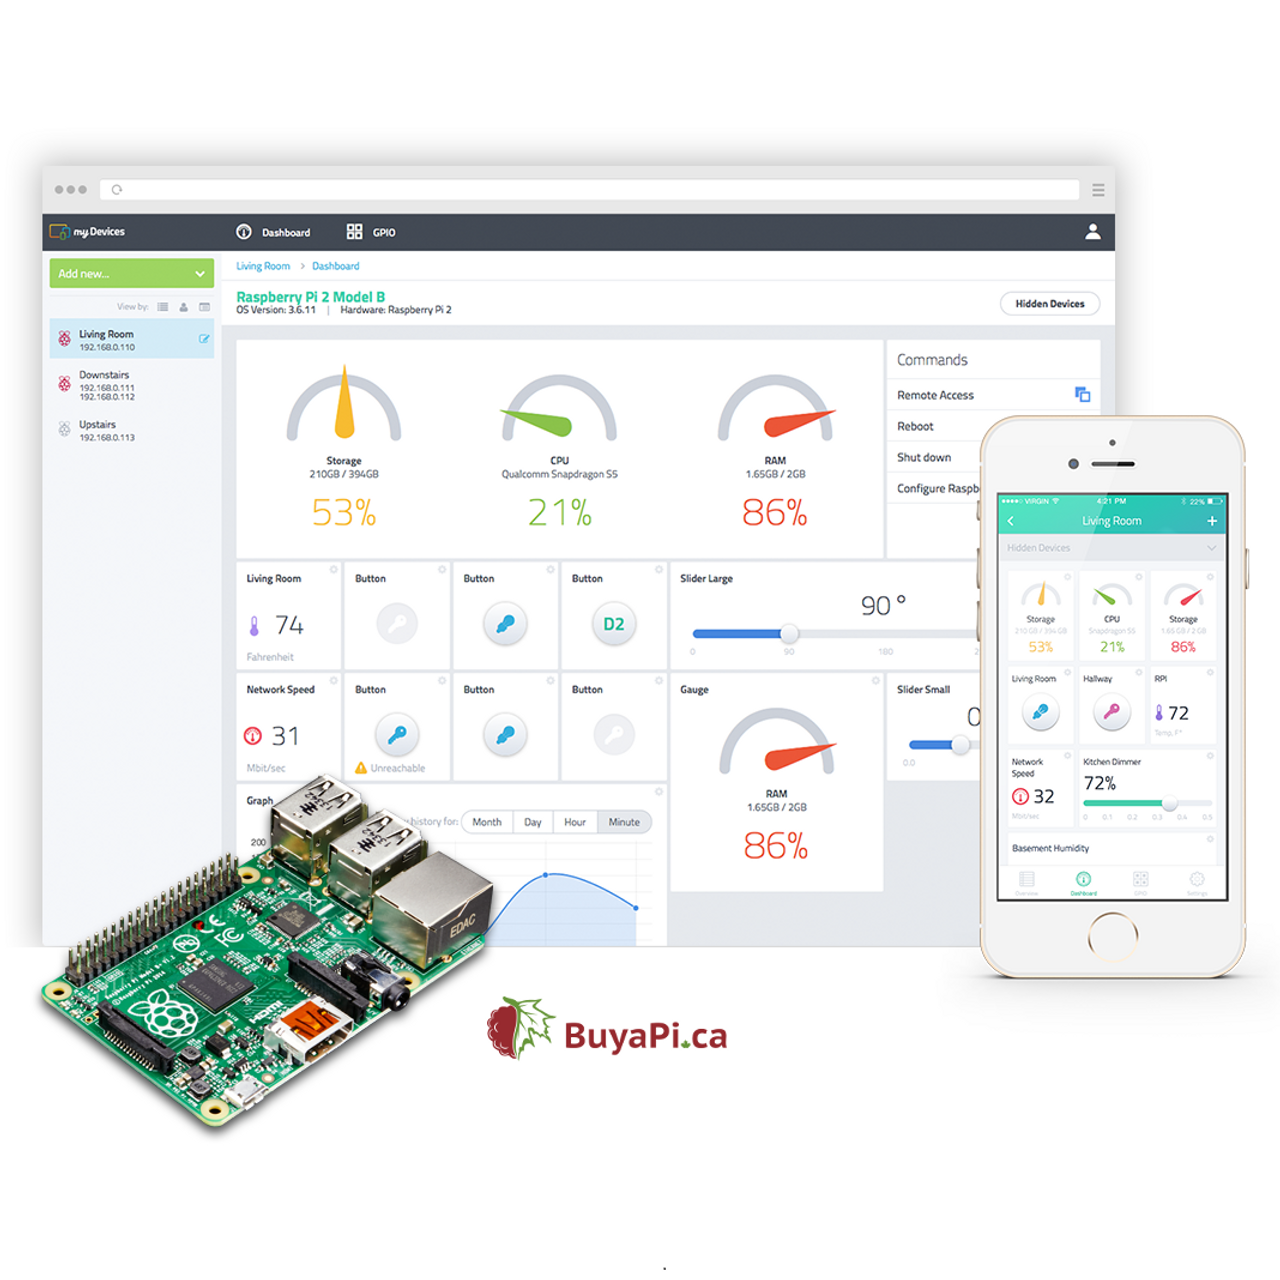
Alright, let's break it down. A remote IoT platform is essentially a system that allows you to manage and interact with your Internet of Things (IoT) devices from anywhere. Think of it as the digital control center for all your smart gadgets. These platforms provide tools and interfaces to monitor, configure, and troubleshoot your devices without needing to be physically present.
For instance, if you've got a weather station running on a Raspberry Pi, you can check temperature readings, adjust settings, or even update software—all from your smartphone or laptop. Remote IoT platforms make it possible to scale your projects and manage multiple devices efficiently. And the best part? Many of these platforms offer free tiers, so you don't have to break the bank to get started.
But here's the thing: remote access comes with its own set of challenges, especially when it comes to security. That's why using SSH keys is a no-brainer. They add an extra layer of protection, ensuring that only authorized users can access your devices.
Raspberry Pi: The Heart of IoT
Now, let's talk about the star of the show: the Raspberry Pi. This tiny yet powerful device has become a favorite among hobbyists and professionals alike. It's like the Swiss Army knife of tech—versatile, affordable, and packed with features. Whether you're building a smart home system, a weather station, or even a retro gaming console, the Raspberry Pi is up to the task.
Why Raspberry Pi?
Here's why the Raspberry Pi is such a big deal:
- Cost-Effective: You can get a fully functional Pi for under $50.
- Community Support: A massive community of users and developers means tons of resources and tutorials.
- Customizable: With a variety of models and accessories, you can tailor your setup to fit your needs.
- Powerful: Despite its size, the Pi packs enough punch to handle complex tasks.
So, whether you're a coding wizard or a curious beginner, the Raspberry Pi is a great way to dive into the world of IoT.
SSH Basics: What You Need to Know
SSH, or Secure Shell, is like the secret handshake of the tech world. It's a protocol that allows you to securely connect to a remote device over an unsecured network. Think of it as a secure tunnel between your computer and your Raspberry Pi. With SSH, you can execute commands, transfer files, and manage settings—all from afar.
Here's how it works:
- You initiate a connection from your local machine.
- The SSH server on your Raspberry Pi verifies your identity.
- Once authenticated, you gain access to the Pi's terminal.
But here's the catch: using passwords for SSH can be risky. That's where SSH keys come in. Instead of relying on easily guessable passwords, SSH keys use cryptographic techniques to ensure only authorized users can connect.
Why Use SSH Keys?
Now, you might be wondering, "Why bother with SSH keys when passwords seem to work just fine?" Well, here's the deal: passwords can be cracked, especially if they're weak or reused across multiple accounts. SSH keys, on the other hand, are much harder to compromise. Here's why:
- Strong Authentication: SSH keys use complex algorithms that are nearly impossible to brute-force.
- No Password Required: Once you've set up your keys, you won't need to enter a password every time you connect.
- Improved Security: Disabling password authentication altogether makes your system less vulnerable to attacks.
So, if you're serious about securing your Raspberry Pi, SSH keys are the way to go. Plus, they're free and easy to set up—win-win!
Setting Up SSH Keys for Raspberry Pi
Alright, let's get our hands dirty. Setting up SSH keys for your Raspberry Pi is a straightforward process. Follow these steps, and you'll be up and running in no time.
Step 1: Generate SSH Keys
First, you'll need to generate a pair of SSH keys on your local machine. Open up a terminal and run the following command:
ssh-keygen -t rsa -b 4096
This will create a public and private key pair. You'll be prompted to specify a location to save the keys and optionally set a passphrase for added security.
Step 2: Copy Public Key to Raspberry Pi
Next, you'll need to copy your public key to your Raspberry Pi. Use the following command:
ssh-copy-id pi@your_pi_ip_address
Replace your_pi_ip_address with the actual IP address of your Raspberry Pi. You'll be prompted to enter the password for the Pi's user account (usually "raspberry"). Once done, your public key will be added to the authorized keys list on the Pi.
Step 3: Disable Password Authentication
To further enhance security, disable password authentication on your Raspberry Pi. Edit the SSH configuration file:
sudo nano /etc/ssh/sshd_config
Find the line that says PasswordAuthentication yes and change it to PasswordAuthentication no. Save the file and restart the SSH service:
sudo systemctl restart ssh
And that's it! You're now using SSH keys to securely connect to your Raspberry Pi.
Accessing Your Raspberry Pi Remotely
With SSH keys in place, accessing your Raspberry Pi remotely is a breeze. Simply open a terminal on your local machine and run:
ssh pi@your_pi_ip_address
If you've set a passphrase for your private key, you'll be prompted to enter it. Once authenticated, you'll be dropped into the Pi's terminal, ready to start tinkering.
Tips for Seamless Remote Access
- Use a Static IP: Assign a static IP address to your Raspberry Pi to avoid connection issues.
- Forward Ports: If you're accessing your Pi from outside your local network, set up port forwarding on your router.
- Use a Domain Name: Consider using a dynamic DNS service to make connecting easier.
These tips will ensure a smooth and hassle-free remote experience.
Security Tips for Remote IoT Setup
Security should always be a top priority when working with IoT devices. Here are some tips to keep your Raspberry Pi and remote setup safe:
- Keep Software Updated: Regularly update your Pi's operating system and installed packages.
- Use Strong Keys: Generate SSH keys with a high bit length (e.g., 4096).
- Monitor Logs: Keep an eye on your Pi's logs for any suspicious activity.
- Firewall Rules: Configure firewall rules to limit access to only necessary ports.
By following these best practices, you'll minimize the risk of unauthorized access and keep your devices secure.
Troubleshooting Common Issues
Even with the best setup, issues can arise. Here are some common problems and how to fix them:
- Connection Refused: Check your Pi's IP address and ensure SSH is enabled.
- Key Rejected: Verify that your public key is correctly added to the authorized keys list.
- Port Blocked: Ensure your router's firewall isn't blocking the SSH port (default is 22).
Don't panic if you run into trouble—most issues can be resolved with a bit of troubleshooting.
Real-World Use Cases
So, what can you actually do with a remote IoT platform and Raspberry Pi? The possibilities are endless! Here are a few examples:
- Smart Home Automation: Control lights, thermostats, and security systems from anywhere.
- Remote Monitoring: Track environmental conditions like temperature and humidity.
- Personal Cloud Storage: Set up your own private cloud for file storage and sharing.
These use cases highlight the versatility and power of remote IoT platforms combined with Raspberry Pi.
Wrapping It Up
And there you have it—a comprehensive guide to setting up a free SSH key for your Raspberry Pi and unlocking the potential of remote IoT platforms. From generating keys to troubleshooting common issues, we've covered everything you need to know to get started. Remember, security is key (pun intended), so always follow best practices to keep your devices safe.
Now, it's your turn to take action. Whether you're building your first IoT project or scaling an existing setup, the tools and knowledge are at your fingertips. So, what are you waiting for? Dive in, experiment, and let us know how it goes. And don't forget to share this article with your fellow tech enthusiasts!
Happy tinkering, and may your Raspberry Pi adventures be both rewarding and secure!


