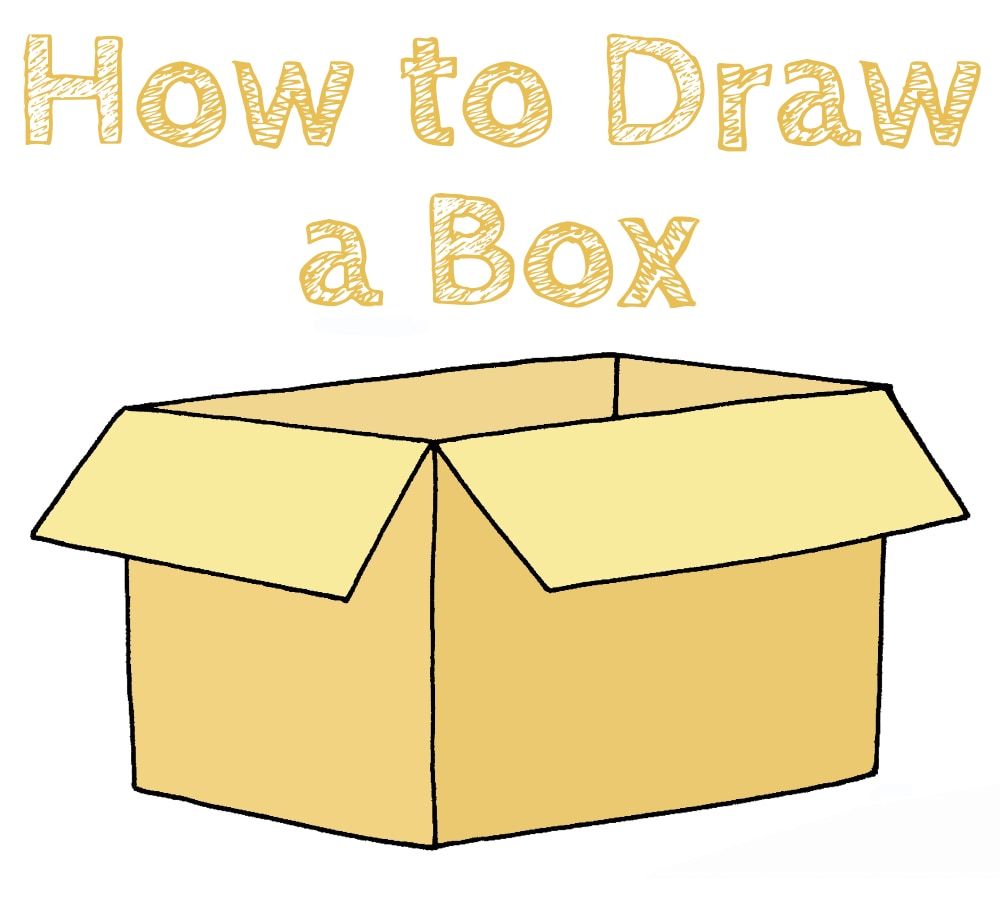
How To Master The Art Of Drawing A Box: A Step-by-Step Guide For Everyone
Ever wondered how to draw a box like a pro? Let’s dive into the world of basic shapes and discover the secrets behind creating a perfect box every single time. Whether you’re an aspiring artist or just looking to improve your drawing skills, this guide has got you covered. From simple squares to 3D masterpieces, we’ll explore everything you need to know about drawing a box.
Boxes may seem simple, but they hold the key to understanding perspective, proportion, and depth in art. This foundational skill is crucial for anyone who wants to take their drawings to the next level. So, grab your pencil, eraser, and a piece of paper because we’re about to embark on an artistic journey!
Learning how to draw a box isn’t just about creating a container shape. It’s about mastering the principles of geometry and perspective that apply to all forms of art. By the end of this article, you’ll not only be able to draw a box but also understand how it fits into the broader context of artistic creation. Let’s get started!
Why Is Drawing a Box Important in Art?
When you hear the term "draw a box," you might think it’s too basic to be worth your time. But here’s the deal—boxes are the building blocks of many complex structures in art. They help artists understand how light interacts with surfaces, how objects relate to each other in space, and how to create depth in a two-dimensional medium.
Think about it: buildings, furniture, and even vehicles can all be broken down into box-like shapes. Mastering the box means mastering the foundation of realistic drawing. Plus, it’s a great way to practice your hand-eye coordination and precision.
Basic Tools You’ll Need to Draw a Box
Before we jump into the drawing process, let’s talk about the tools you’ll need. You don’t need anything fancy to get started, but having the right equipment can make a big difference in your results.
Essential Drawing Tools
- Pencil (HB or 2B works great for beginners)
- Eraser (a kneaded eraser is ideal for precision)
- Sheet of paper (any type will do, but sketchbook paper is recommended)
- Ruler (optional, but helpful for straight lines)
- Compass (if you want to experiment with circles and curves)
These tools are affordable and accessible, so there’s no excuse not to dive in and start practicing!
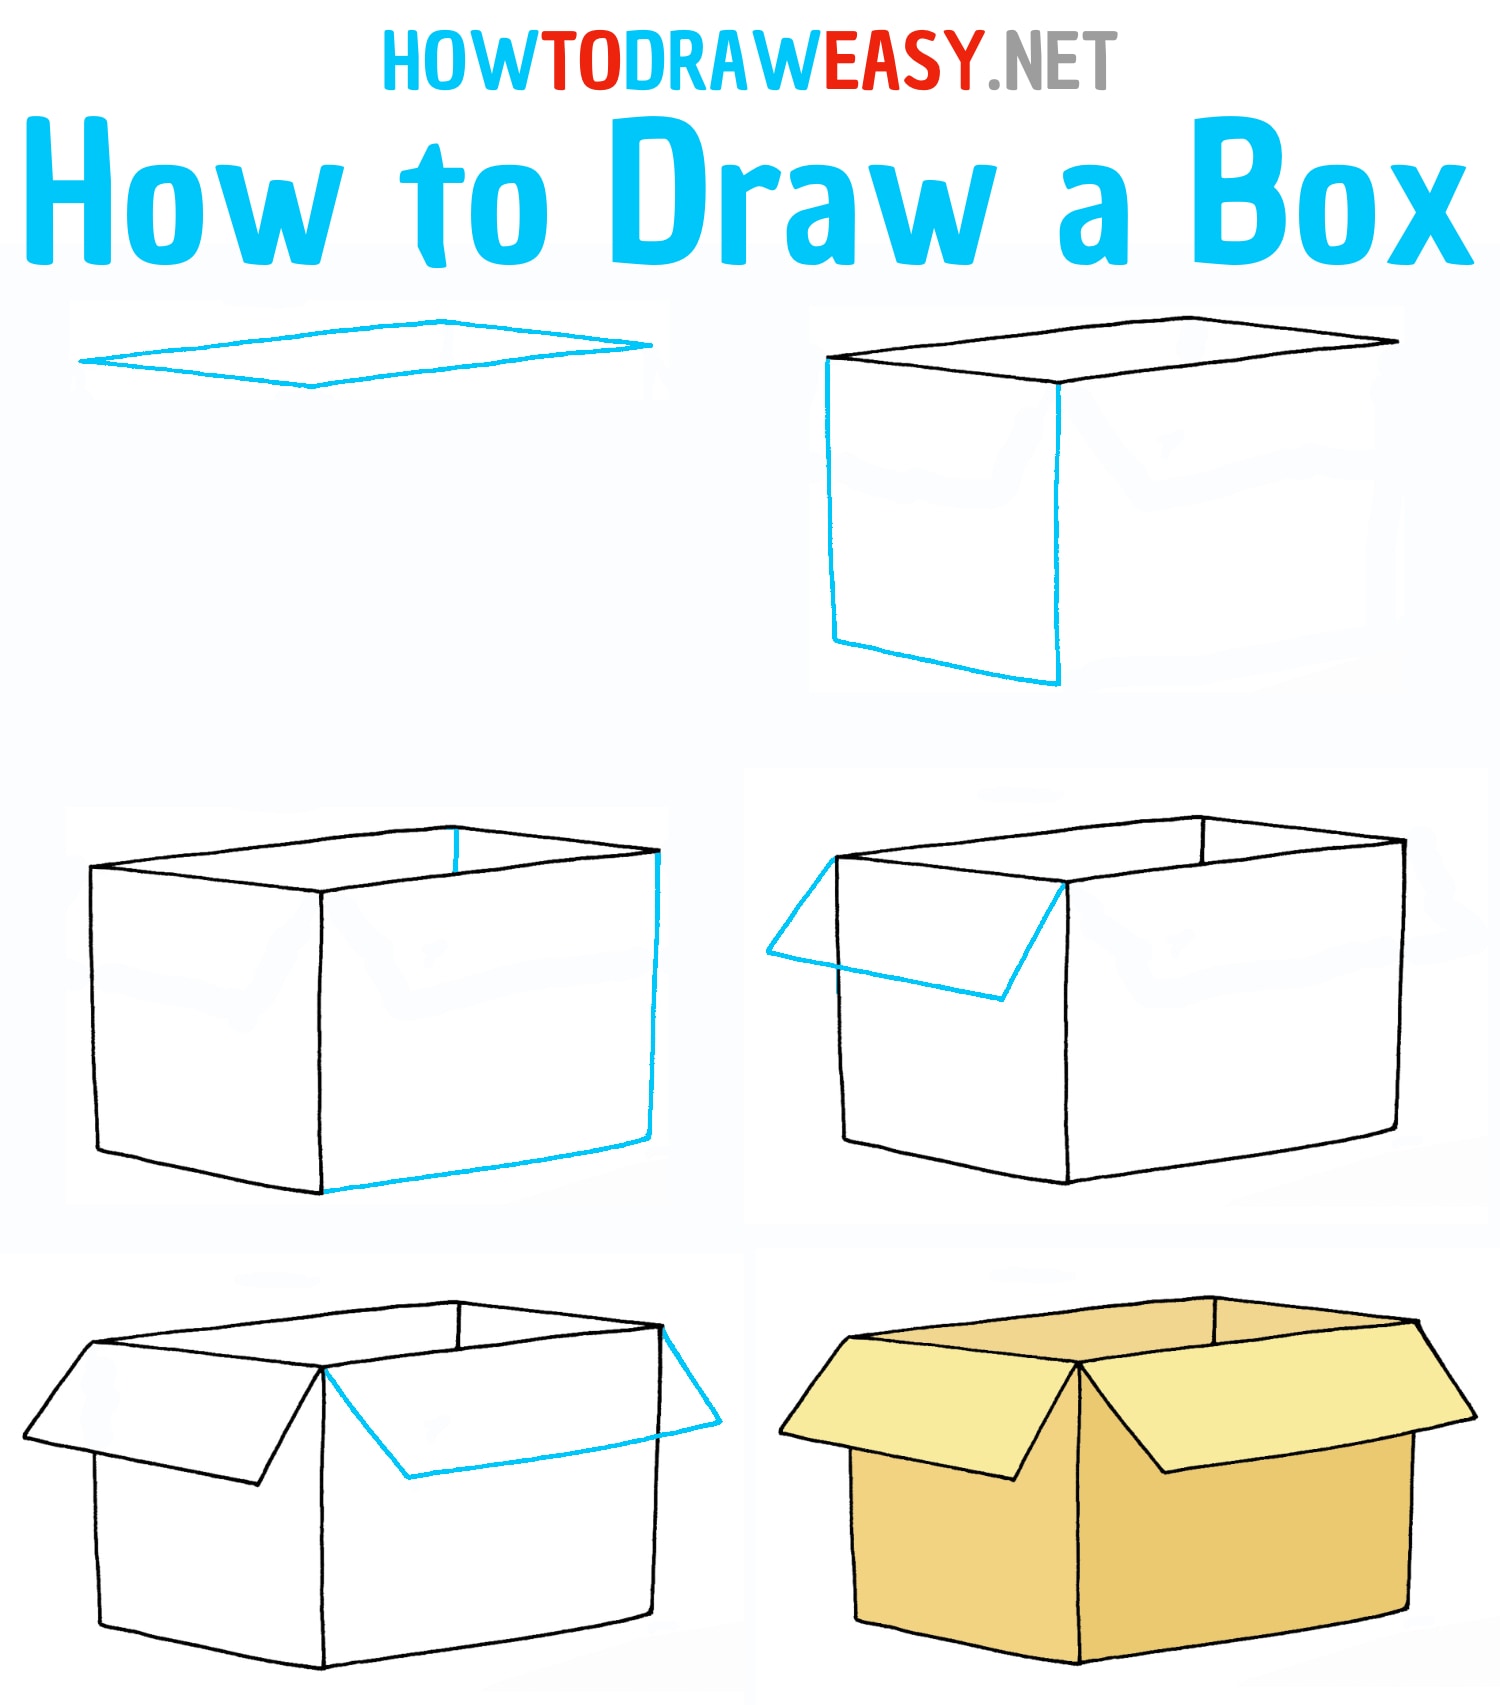
Step-by-Step Guide: How to Draw a Box
Now that you have your tools ready, let’s break down the process of drawing a box step by step. This method will work for both 2D and 3D boxes, so you can choose which one you want to focus on.
Step 1: Start with a Simple Square
Begin by drawing a square. Make sure your lines are straight and even. If you’re struggling with this, don’t worry—it’s okay to use a ruler to help you out. The square will serve as the base of your box.
Step 2: Add Depth with Parallel Lines
From each corner of your square, draw a line extending outward. These lines should be parallel to each other, creating the illusion of depth. If you’re drawing a 3D box, this step is crucial for establishing perspective.
Step 3: Complete the Box
Once you’ve drawn the parallel lines, connect them at the top to form another square. Congratulations—you’ve just created a 3D box! You can now add details like shading and texture to make it look more realistic.
Understanding Perspective: The Key to Realistic Boxes
One of the most important aspects of drawing a box is understanding perspective. Perspective is what gives your drawings depth and makes them look realistic. There are different types of perspective, but for drawing a box, we’ll focus on one-point and two-point perspective.
One-Point Perspective
In one-point perspective, all lines converge toward a single vanishing point on the horizon line. This technique is great for drawing boxes that face directly toward or away from the viewer.
Two-Point Perspective
Two-point perspective involves two vanishing points on the horizon line. This technique is ideal for drawing boxes at an angle, where you can see multiple sides of the object.
By mastering these techniques, you’ll be able to create boxes that look realistic and dynamic from any angle.
Tips and Tricks for Perfect Boxes
Now that you know the basics, here are a few tips and tricks to help you refine your box-drawing skills:
- Practice your lines regularly. The more you practice, the steadier your hand will become.
- Use light strokes when sketching. This makes it easier to erase mistakes and adjust your lines.
- Experiment with different shading techniques to add depth and texture to your boxes.
- Don’t be afraid to make mistakes. Every great artist started out as a beginner!
Remember, drawing is all about practice and patience. Keep pushing yourself to improve, and you’ll be amazed at how far you can go.
Common Mistakes to Avoid When Drawing a Box
Even the best artists make mistakes from time to time. Here are some common pitfalls to watch out for when drawing a box:
- Uneven lines: Make sure all sides of your box are proportional and symmetrical.
- Incorrect perspective: Double-check your vanishing points to ensure your box looks realistic.
- Over-shading: Too much shading can make your box look messy. Start light and build up gradually.
By avoiding these mistakes, you’ll be able to create boxes that look clean, professional, and realistic.
Advanced Techniques: Taking Your Box Drawing to the Next Level
Once you’ve mastered the basics, it’s time to explore some advanced techniques that will take your box drawing to the next level. Here are a few ideas to try:
Adding Texture
Texture can make your box look more interesting and dynamic. Experiment with different patterns and textures to give your box a unique look. For example, you could add a wood grain texture or a metallic shine.
Playing with Light and Shadow
Light and shadow are essential for creating depth in your drawings. Practice placing your light source in different positions to see how it affects the shadows on your box. This will help you create more realistic and dynamic drawings.
These advanced techniques will challenge you to think outside the box (pun intended) and push the boundaries of your artistic skills.
Real-World Applications of Drawing a Box
Believe it or not, learning how to draw a box has real-world applications beyond just art. Architects, engineers, and designers all use box shapes to create blueprints, models, and prototypes. Even in everyday life, understanding how to draw a box can help you visualize and plan projects more effectively.
So whether you’re designing a new piece of furniture or sketching out a building plan, the skills you learn from drawing a box will serve you well in a variety of fields.
Conclusion: Draw a Box and Unlock Your Creative Potential
In conclusion, learning how to draw a box is more than just a simple exercise—it’s a gateway to understanding the principles of art and design. By mastering the basics of perspective, proportion, and depth, you’ll be able to create more realistic and dynamic drawings.
So what are you waiting for? Grab your tools and start practicing today. And don’t forget to share your creations with the world! Whether you post them on social media or show them off to friends and family, your hard work deserves to be celebrated.
Call to Action: Leave a comment below and let us know how your box-drawing journey is going. Are there any tips or tricks you’d like to share? Or maybe you have a question about a specific technique? We’d love to hear from you!
Table of Contents
- Why Is Drawing a Box Important in Art?
- Basic Tools You’ll Need to Draw a Box
- Step-by-Step Guide: How to Draw a Box
- Understanding Perspective: The Key to Realistic Boxes
- Tips and Tricks for Perfect Boxes
- Common Mistakes to Avoid When Drawing a Box
- Advanced Techniques: Taking Your Box Drawing to the Next Level
- Real-World Applications of Drawing a Box
- Conclusion: Draw a Box and Unlock Your Creative Potential

